
DIY Flower Garland
This post may contains affiliate links. Read my disclaimer policy here.
Summer has arrived, and has brought along this beautiful diy!
I've been waiting to share this with you for so long, but it needed to be out in for the summer. Summer is here, the diy is here, and I am very, very excited.
Ever since I started watching Mr Kate's videos I have always been inspired to shuffle things around, and update the layout of my room. After watching their entire back catalogue, I now feel like I am a diy expert ready to bring out the paint tins and electric drill and turn my bedroom into my perfect palace. Clearly, I would be terrible at anything on a larger scale, but I am always in awe how they can literally take basic materials, and turn them into the most beautiful and expensive looking decor. It's now time for me to give this a go.
Small steps Aycan, small steps.
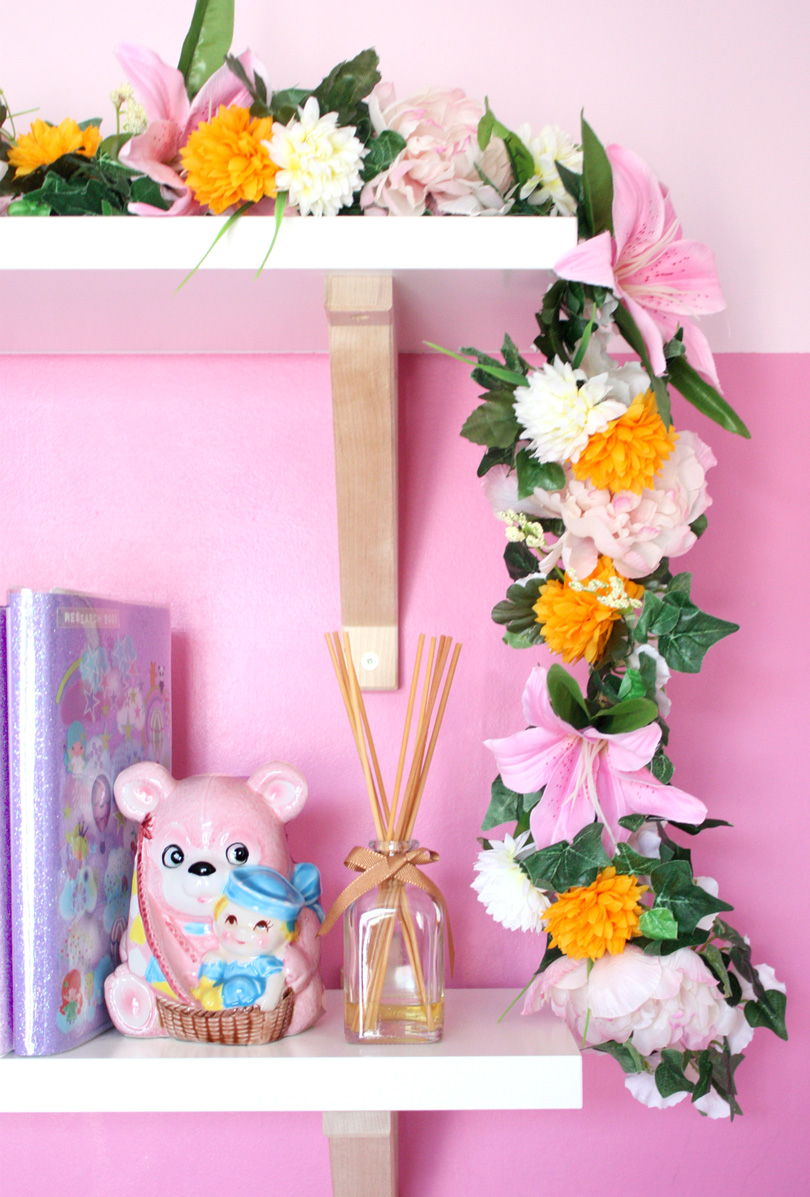
I've finally got shelves in my bedroom, (I didn't put these up), and I really wanted to style them up so they can be Pinterest worthy. The floral wall installation is all the rage right now, but with my shelves in mind, I am going to make a garland instead. I was looking at buying one, but if I can do something myself, I tend to just go for it; even if it costs a little more, and takes up a bit a lot of my time. I would completely recommend trying this yourself, as it was easy to do, fun to put together, and you can make it as perfect and personal just for you.

You don't just have to decorate your shelves, it can be wrapped around your bed frame, decorate your door frames, picture frames, or mirrors. They would look beautiful for summer parties and event as table runners too. If it's for a really special event, you could even try with real flowers! You'll get triple diy points from me if you do.
I would usually do a step by step guide, but it's not really necessary for something like this, so instead, I'm going to giving you some tips which will help you create your garland.


- Your first purchase needs to be your ivy garland. I'd recommend buying a chainlink garland because I found it easier to adapt and add flowers too. I bought mine from here.
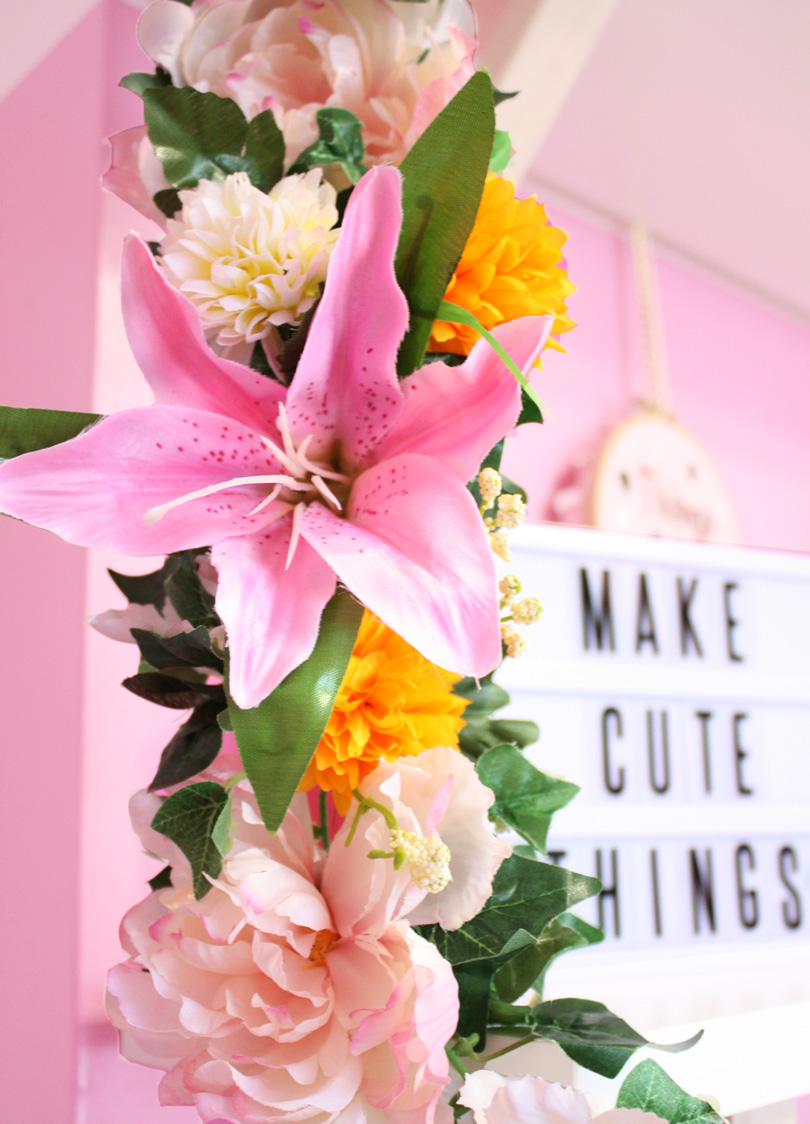
- Before picking your flowers, decide on a colour scheme. I went for pinks, creams, oranges and whites. You can keep yours tonal, a rainbow of brights, or simple white and pastels. I bought mine from here.
- Think about the size and shape of your flowers. Having a range will give your garland texture and depth.
- I'd also recommend buying a bundle of flowers instead of a single stem because you'll also get leaves and the other foliage along with your flower which you can add to your garland.
- When you're ready to put your garland together, lay your garland out and group your flowers together. (If you're not ready to commit at first, just place your flowers onto the garland). Start with the biggest flower bud first, and then add in your smaller ones. I layered up leaves and other greenery along with my flowers before I added them to the garland.
- I chose to keep to a repeating pattern, but it's up to you how you want to put yours together.
- Once you're happy with your pattern, you can use a glue gun, if you have one (I don't, I'm not trusted with hot sticky things), or you can sew them on, which is what I did.
I told you it would be simple! I love creating my own decor, and even though it takes a while for me to put together and create the content for my blog, I'm trying to find a way to get more out. Let me know in the comments below what you think of this garland, and tell me about any room decor you have made for yourself. If you decide to make this garland, make sure you let me know and include a photo. I'd love to see what you make!


LEAVE A COMMENT BELOW
and let me know your thoughts on this post!